Items are just that–the individual items you are selling. Each item belongs to a department (for tax and accounting purposes) and can be assigned a price and image/color.
Creating Items
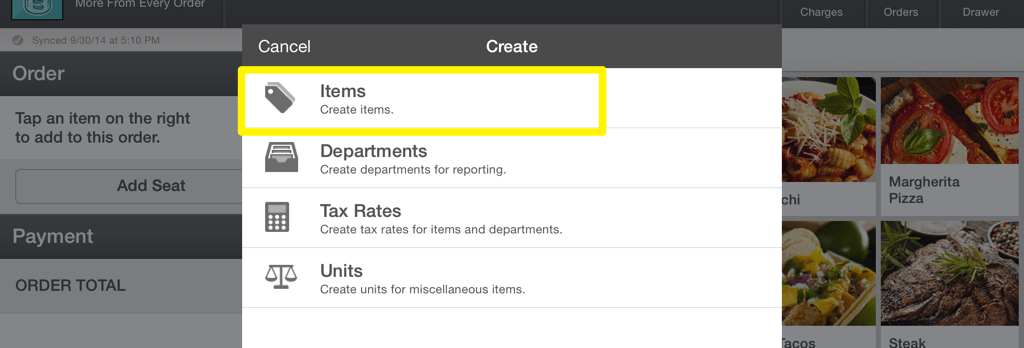
From the Account Dropdown in the Action Bar, tap Create then select Items.
Choose a department on the left, then tap Create Item at the top of the list.
Name the item and give it a price.
If you'd like to automatically display the Modifier List each time this item is added to an order, scroll down on the right and enable the Always Present Modifier List option. To see this in action, learn more about how to use Modifiers.
Once finished, tap Next.
Customize it with a photo or color, then tap Next.
After you create an item, you can create another or tap Place to place items on a screen. Learn more about Screen Layout here.
Editing Items
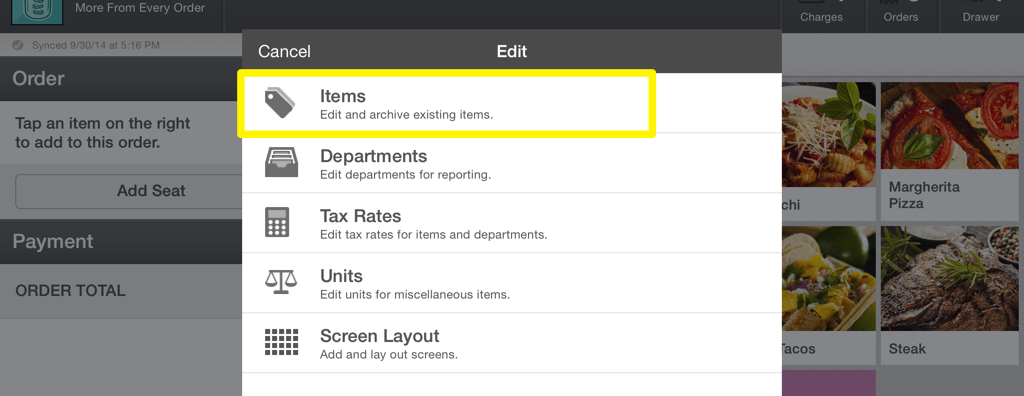
From the Account Dropdown in the Action Bar, tap select Edit then Items.
Search or scroll through the list to find the item and tap it. From here, you can change the item's name, color, picture, tax rate, and/or department. You can also archive the item.
Archiving Items
From the Account Dropdown in the Action Bar, select Edit then Items.
Select the Department the item belongs to, or tap All Items and search or scroll through the list of items.
Select the item you wish to archive, then choose Archive Item, tap Archive and then confirm Archive.
Finding Archived Items
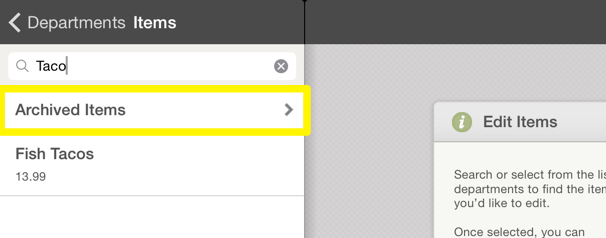
From the Account Dropdown in the Action Bar, select Edit then Items. Tap All Items and then the search bar.
An Archived Items row will appear.
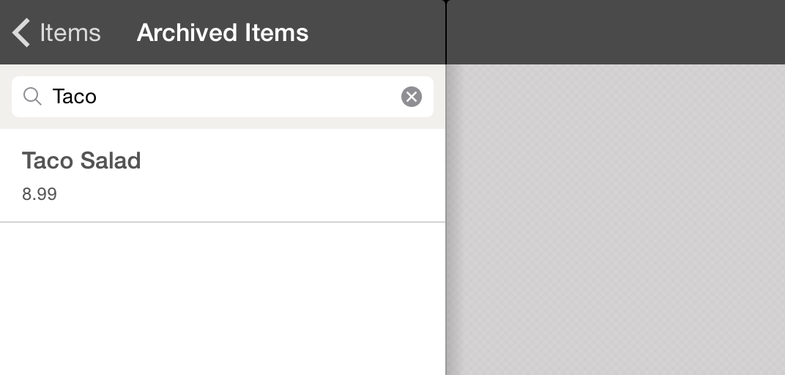
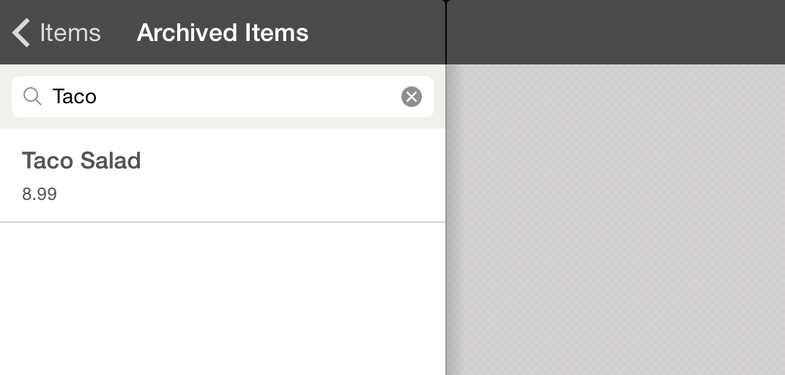
Tap Archived Items to reveal a list of your previously archived items.
Unarchiving Items
From the Account Dropdown in the Action Bar, select Edit then Items.
Tap All Items and then the search bar.
An Archived Items row will appear.
Tap Archived Items to reveal a list of your previously archived items.
Select the item you would like to unarchive, then Unarchive Item. Tap Unarchive, then confirm Unarchive.
Next Steps
Learn how to organize your Screen Layout.

